
This guide focuses on how personal protective equipment should be applied and removed. Each section outlines specific processes professionals use in hazardous response, infection control, and chemical containment. The goal is clarity, not complication. What matters is how people wear the equipment, remove it, and what happens when steps are skipped. If the sequence fails, contamination spreads. That applies in every context, from clinical labs to full-scale CBRN deployments.
What Is PPE and Why Is Proper Donning and Doffing So Critical? Understanding Different Types of Protective Gear and Their Protection Levels How Improper Technique Increases Infectious Disease Transmission CBRN Standards for PPE Material Selection and Usage What Is the Correct Sequence for Donning Protective Gear? Common Mistakes That Compromise Protection How Do I Properly Remove Protective Gear to Minimize Contamination Risk? Removal Techniques for Different Infectious Material Scenarios Proper Disposal of Contaminated Gear After Doffing What Are the Different Protective Gear Levels and Wearing Requirements? How Should Donning and Doffing Be Modified in Emergency Situations? What Training Methods Ensure Proper Application and Removal?Table of Contents
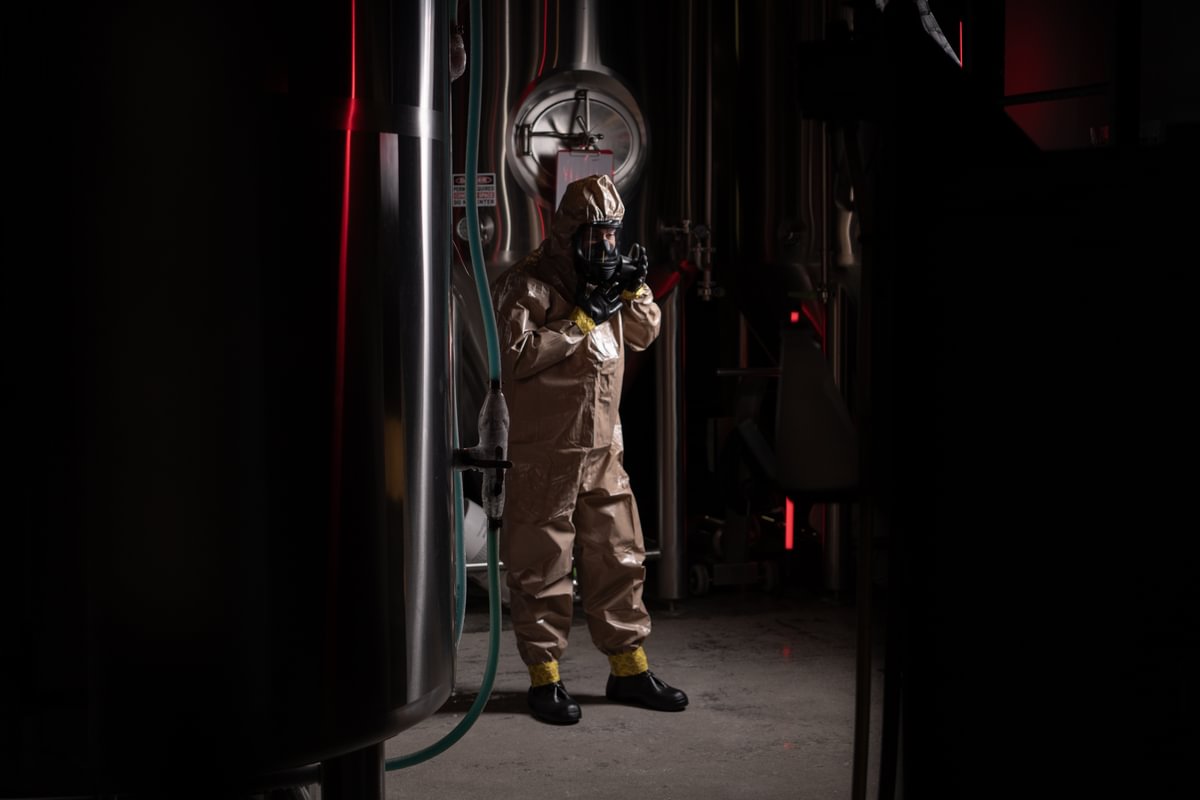
What Is PPE and Why Is Proper Donning and Doffing So Critical?

Image source: MIRA Safety ®
Protective equipment does not function by appearance. It only works when used with the correct process. That includes how it is worn, how it is removed, and how users respond to stress under exposure. PPE is built to protect, but that protection depends on human behavior. Poor application and rushed removal are the most common sources of exposure.
Understanding Different Types of Protective Gear and Their Protection Levels

Image source: MIRA Safety ®
PPE is classified by risk level and respiratory requirement. Level A includes a fully encapsulating, gas-tight suit with a self-contained breathing apparatus. It is used when the threat is unknown or extremely hazardous. Level B offers similar respiratory protection but with reduced suit encapsulation. It is common during liquid splash exposure. Level C uses powered or air-purifying respirators with lighter suits. It is suited for known agents with adequate filter options. Level D includes standard work clothing used in low-risk zones.
MIRA Safety’s HAZ-SUIT®, combined with the CM-6M mask, is suitable for Level A and B operations. This configuration supports both splash and vapor protection under SCBA. For Level C protection, the TAPR respirator provides a powered airflow system. It improves wear time without compromising safety in low-to-moderate exposure tasks.
How Improper Technique Increases Infectious Disease Transmission
Incorrect technique does not always look obvious. A missed seal check, exposed wrist, or skipped step can result in surface contamination. The CDC published a study in 2019 showing more than fifty percent of glove removals led to contamination. This was not caused by faulty gloves. The problem was contact.
Dirty gloves touched clean surfaces. Sleeves brushed the neck or wrist. The repetition of contaminated gestures is known as a perseveration error. It occurs when users fall into a habit under stress. These errors are common in rushed scenarios or during extended shifts.
CBRN Standards for PPE Material Selection and Usage
Material performance is not based on assumption. CBRN suits must meet defined resistance thresholds. NFPA 1994 categorizes protective suits by permeation class. EN 943-2 and ISO 16602 outline chemical barrier specifications for both reusable and disposable materials. In the United States, OSHA regulation 29 CFR 1910.134 requires annual fit-testing for respirators. Employers must maintain a written respiratory protection plan.
Fabric quality is verified using ASTM F1671, which tests for viral penetration. Additional comparison involves breakthrough time. Butyl rubber resists chemical permeation longer than Tychem in most cases. Filter selection also matters.
P3 filters trap particles but do not block chemical gases. CBRN filters are engineered to trap a broader range of airborne hazards, including toxic industrial chemicals risks, and warfare agents. Performance always depends on the match between environment, gear, and usage time.
What Is the Correct Sequence for Donning Protective Gear?

Image source: MIRA Safety ®
Personal protective equipment must be applied in a specific order. This is not about preference or convenience. Each step reduces risk by controlling surface exposure and airflow direction. The process used for isolation suits applies in hospitals, field operations, and decontamination zones. Skipping steps increases the chance of failure. Proper sequence helps maintain safety from the moment the suit is worn until it is removed.
Step-by-Step Donning Procedure for Standard Isolation PPE
Here is an easy to follow step by step that most users follow:
Step 1: Hand Sanitation Before Gear Contact
Use field-grade sanitizer or a portable wash unit to clean hands. This limits contamination transfer inside the suit, especially when operating without controlled indoor conditions.
Step 2: Don the Protective Suit
Put on the outer garment, securing all fasteners, flaps, and zippers and make sure seams lie flat. In dim or cramped locations, use a buddy system to confirm the suit is fully sealed before proceeding.
Step 3: Respirator Application and Seal Check
Place the respirator on your face. Perform both negative and positive pressure seal checks. For CBRN deployment, powered air systems or SCBA units may replace half-face models. Fit integrity is essential before entering any hazard zone.
Step 4: Apply Eye and Face Protection
Secure goggles or a visor with anti-fog protection. Gear must remain stable during rapid movement and exposure. Fogged vision in confined or low-visibility environments increases error risk.
Step 5: Glove Application with Seal Coverage
Wear inner gloves first, then outer gloves over sleeves. Use tape if necessary to close wrist gaps. Full coverage is vital when handling debris, surfaces, or unknown substances in real-world settings.
Step 6: Conduct a Final Check Before Entry
Use a teammate or reflective surface to verify suit integrity and respirator seal. Monitor for heat stress, especially during warm-weather deployments. Gear failure is more likely if skipped during rapid mobilization.
Special Considerations When Donning Level A and B Protection Equipment
Higher protection levels require additional checks. For Level A suits, conduct a pre-pressure test before putting on the gear. Connect the SCBA unit before closing the zipper. Once the suit is closed, seal seams with double tape to prevent vapor intrusion. A positive-pressure leak check must be performed on the CM-7M gas mask or the SCBA facepiece. This step confirms that the mask is sealed and holding pressure correctly under load.
Common Mistakes That Compromise Protection

Image source: MIRA Safety ®
Some mistakes are easy to miss during preparation but cause problems once the protective gear is in use. These errors usually result from skipped steps, rushed handling, or unconscious habits. While they may appear minor at first, they reduce the overall safety of the equipment and increase the chance of early contamination.
The most common donning errors include:
-
Skipped respirator seal check
The most frequent oversight involves missing the negative or positive pressure test. This creates small gaps that allow vapour or particles to pass through undetected. -
Exposed wrist between glove and sleeve
When gloves are applied without checking sleeve coverage, a wrist gap forms. Even brief exposure can allow skin contact with surfaces or liquids. -
Fogged visor or face shield
Reduced visibility leads users to adjust gear mid-task. Touching the gear mid-task compromises clean zones and spreads contaminants. Anti-fog wipes or powered airflow units like the MB-90 can help maintain clear vision. -
Repetitive, contaminated hand movements
Known as perseveration contact, this includes repeated mask touching or brushing against clothing. It typically occurs under stress and leads to early contamination before fieldwork even begins.
Each of these can be avoided through clear instruction, peer verification, and habit correction. Suiting up is not difficult, but it must be consistent.
How Do I Properly Remove Protective Gear to Minimize Contamination Risk?
Removing protective equipment like a Hazmat suit without transferring contaminants takes more attention than people expect. The outer surfaces of gowns, gloves, and respirators are often exposed. A rushed or incorrect removal process brings that exposure into contact with skin, clothing, or clean zones. This is why the removal sequence matters as much as the equipment itself. The order is based on surface risk, airflow, and physical movement.
The Science-Backed Removal Sequence to Prevent Cross-Contamination
Each step in the removal process is based on controlled studies, not guesswork. The sequence reduces the chance of direct contact between contaminated surfaces and bare skin. It also slows hand-to-face transfer, which is one of the fastest ways exposure occurs.
Follow this general sequence during PPE removal:
Step 1: Remove Outer Gloves Slowly
Peel off outer gloves slowly, turning them inside out to trap surface contaminants. Avoid snapping or quick removal, as residue or particles can become airborne.
Step 2: Roll Suit Outward and Down
Start at the shoulders and roll the suit outward, peeling it away from the torso and legs. Do not allow the exterior to touch underclothing or exposed skin. Use steady and controlled motion, especially in confined spaces such as hallways, stairwells, or mobile decontamination units.
Step 3: Sanitize Hands Immediately
After removing the suit, clean your hands with alcohol-based rub or decontamination spray. This reduces residual contamination before continuing.
Step 4: Remove Eye or Face Shield by Edges
Handle goggles or face shields by the edges or straps. Avoid contact with the lenses and front-facing surfaces, particularly when particles or chemicals may be present.
Step 5: Take Off the Respirator Carefully
Remove the respirator after all other gear has been taken off. Tilt forward slightly to minimize exposure during removal. If using a SCBA, disconnect the airflow first, then lift off the unit.
Step 6: Final Hand Decontamination
Sanitize your hands thoroughly before handling radios, tools, or personal items. If a secondary wash station is available, proceed there for final cleaning.
During high-risk operations, a trained observer or spotter should be present. They guide each step and log any protocol breaches. This method is based on the CDC's system developed for Ebola response teams.
Removal Techniques for Different Infectious Material Scenarios
Some environments require modified removal steps based on the type of contaminant. The wrong technique can aerosolized particles or spread liquid contamination.
-
Wet contamination
Use absorbent pads or towels to blot outer surfaces before unzipping the suit. This reduces the spread of fluid when the fabric is disturbed. -
Aerosol or powder exposure
Apply a light mist of 0.5 percent hypochlorite to the surface. This neutralizes particles before handling begins.
Each scenario requires small adjustments to reduce the spread. These are not cosmetic changes. They are based on how different materials behave under motion and pressure.
Proper Disposal of Contaminated Gear After Doffing

Image Source: Pexels
Once removed, the used gear must be handled like active waste. That includes both disposable and reusable components. Improper disposal turns one clean area into another contaminated zone.
-
Single-use suits and gloves
Place all disposable items in a double-sealed biohazard bag. If CBRN agents are involved, use a rigid containment drum with a locking lid. -
Reusable gear
Clean with soap and wipe with a hypochlorite solution. Let air-dry fully in a clean area. Used filters must be discarded immediately because they may contain trapped contaminants and lose filtration performance after one use.
Cleaning is not about appearance. It is about residue, contact risk, and surface chemistry. Once gear is removed, the work is not finished until disposal or cleaning is complete.
What Are the Different Protective Gear Levels and Wearing Requirements?
Each level follows a specific set of protocols based on exposure risk, breathing equipment, and suit design. Each PPE level has unique gear features. Application and removal steps must follow those specific design requirements to ensure full protection. The table below outlines these distinctions, along with common actions used in field operations.
Level A to D PPE: Protocol Matrix
|
Level |
Respiratory Equipment |
Suit Type |
Donning Detail |
Doffing Detail |
|
A |
Self-contained breathing apparatus with gas-tight facepiece |
Fully encapsulating suit with sealed seams |
Perform a complete pre-pressure test before donning; connect the SCBA before closing the suit |
Use an exterior decontamination shower before removal; unzip only after a full surface rinse |
|
B |
Self-contained breathing apparatus with splash-rated protection |
Non-gas-tight suit with full body coverage |
Put on the SCBA before wearing the suit; verify airflow and connection before entry |
Cut away the suit carefully if contaminated or breached during operation |
|
C |
Air-purifying or powered air-purifying respirator |
Splash-resistant suit with inner and outer gloves |
Check the respirator filter for expiry or damage before sealing; confirm proper airflow for powered units |
Discard used filters in the warm zone before removing the suit; avoid touching the facepiece directly |
|
D |
No respiratory equipment required |
Standard work clothing with minimal protection |
Follow basic gown order, including gloves, eyewear, and footwear as needed |
Dispose of garments through routine laundry or a single-use bin, depending on exposure history |
Specialized Gear for CBRN Incidents
Some missions require modified or enhanced gear that falls outside standard levels. These include options designed for longer operations, extreme temperatures, or higher agent concentration.
-
Hard-visor SCBA helmets
These provide integrated vision, airflow, and splash protection in a single sealed unit. -
Cooling vests
These are worn under the suit to manage core temperature during extended tasks in hot environments. -
Quick-change P-C90 filters
These allow replacement mid-mission without breaking the mask seal, useful for high-exertion or long-duration tasks.
Gear such as cooling vests, quick-change filters, and integrated SCBA helmets allows longer, safer operations—but these tools require regular training and field testing to use effectively.
How Should Donning and Doffing Be Modified in Emergency Situations?
Emergency conditions require small but meaningful adjustments to gear protocols. When time is limited, responders must still follow procedure without skipping protective steps. The goal is not speed alone, but safety under pressure.
Rapid Donning Techniques When Time Is Critical
Preparation begins before the emergency starts. Grab-bags should be staged with respirators and gloves on top, arranged for fast access. Colour-coded tabs help responders identify the correct equipment quickly without unpacking each kit. In some setups, inner gloves are already pre-taped inside the suit sleeves to reduce setup time. Hazmat teams are often trained to complete full donning within sixty seconds. Timed and repeated drills help assess readiness under pressure, making them benchmarks for real emergency performance. The more realistic the drill, the more reliable the response.
Emergency Doffing Procedures During Contamination Events
When exposure occurs mid-task, the removal sequence must be adapted. Do not remove a suit over the face or torso if it is saturated with a chemical agent; use shears to cut it away safely. Safety shears allow responders to cut away the suit, reducing the chance of contact. Before unzipping, the surface may be sprayed with water or decontaminant to lower the external agent load. A rinse step helps prevent the release of aerosols and keeps contaminants from spreading to the underlying layers or environment. These modifications must be practiced ahead of time, not improvised during the event.
What Training Methods Ensure Proper Application and Removal?

Image source: MIRA Safety ®
Knowing how to apply and remove protective gear correctly is not instinctive. It must be taught, practiced, and reviewed with regular feedback. Errors often stem from habit, fatigue, or gaps in training. The most effective programs address all three.
Effective Training Programs for Healthcare and CBRN Personnel
Routine drills provide a structure for evaluating performance. These drills use checklists with specific pass or fail outcomes based on timing and accuracy. Mistakes are corrected on the spot and followed by retesting. Successful programs also integrate with broader systems such as the Incident Command System. Integrating PPE training with the Incident Command System helps teams coordinate roles in real-world scenarios, not just simulated ones.
Using Simulation and Practice to Master Techniques
Good training makes invisible risks visible. Fluorescent tracers applied to gear can reveal where contamination spreads during removal. After a doffing drill, blacklight inspection shows surface contact on hands, clothing, or face. Some programs use high-fidelity manikins that simulate breathing resistance and detect seal leaks. These devices provide real-time feedback during donning and can pinpoint where a user applied too little pressure or skipped a fit check.
Evaluating Competency in Procedures
Skill checks must be repeated on a fixed schedule. OSHA regulation 1910.134 requires annual respirator fit-testing using both qualitative and quantitative methods. This testing confirms that the seal is reliable under movement and stress. Equipment logs help ensure readiness. QR-coded tags and digital tracking systems help teams monitor equipment usage, check filter expiration dates, and confirm gear readiness before deployment—reducing the risk of equipment failure during critical operations.
Protective gear training is not a one-time task. It is a system of learning, checking, and adjusting based on real risks and real outcomes. Practice keeps errors low and confidence high when conditions demand precision.
Conclusion
PPE works only when every step is followed correctly. Donning must be done in sequence, with seal checks and coverage verified before exposure. Doffing must control contact and surface transfer to avoid cross-contamination. Training is what reinforces these habits. Observation, repetition, and correction reduce error during real events. MIRA Safety gear, such as the HAZ-SUIT®, CM-6M, and TAPE systems, supports proper use through simple, reliable design. The process is not complicated, but it must be consistent. Whether in healthcare or CBRN response, protection depends on doing the right thing in the right order, every time.
Frequently Asked Questions