
When access to clean water is disrupted, survival depends on preparation. This guide outlines the steps for storing, maintaining, and accessing emergency water supplies for both short-term and long-term scenarios. From container choices to treatment options, each section offers practical steps you can take right now to avoid panic later. Whether you are preparing for a natural disaster, infrastructure failure, or long-term off-grid living, water is the first resource that must be secured.
How Much Emergency Water Should I Store for SHTF Scenarios?
The first step in emergency water planning is understanding how much you’ll need. It’s not as simple as storing a few bottles and calling it done. Factors such as household size, climate, available storage space, and activity level all influence the amount of water that should be stored. This section breaks down the daily minimums, long-term requirements, and how to scale your storage gradually over time.

Calculating Water Supply Per Person Per Day
Understanding how much water each person needs per day is a necessary part of preparing for emergency scenarios. The most widely accepted guideline is to store one gallon of water per person per day. This gallon includes drinking water and is enough for basic hygiene needs like brushing teeth and minimal washing. In warmer regions or during intense physical activity, this amount may not be enough. Additional considerations should include small children, elderly family members, and pets, all of whom may have different hydration needs.
Daily hydration needs vary by individual, but in high-stress environments, people lose fluids more quickly.
The risk of dehydration becomes a concern sooner than expected, especially if you're without access to outside help for several days. Planning conservatively by overestimating the need, rather than underestimating it, is a practical approach.
Long-Term Water Storage Requirements
Once the daily minimum is determined, extend that number over different durations. Begin with a 14-day supply, then consider scaling to one-month, three-month, and six-month goals depending on your household size and available space. A family of four, for example, would require 56 gallons for a two-week emergency water supply based on the one-gallon rule. When factoring in water for cooking and cleaning, this number rises.
For extended periods, it is useful to calculate the total volume required: multiply the number of people by the number of days and then by the number of gallons per person. Always include a buffer. Cooking, cleaning, and sanitation tasks will require additional gallons each day. Storing emergency water is not only about survival—it is about maintaining a basic standard of living under pressure.
Emergency Preparedness Water Recommendations
Different emergencies call for different levels of readiness. Instead of approaching water storage as an all-or-nothing task, build your supplies in tiers that match the scale of the disruption you are preparing for:
-
Start with a 72-hour kit that covers the bare minimum for survival. This includes enough drinking water for each household member and limited water for hygiene needs.
-
Expand to a 30-day supply once basic storage is in place. This stage allows for better hygiene, some cleaning, and basic cooking flexibility.
-
Build a long-term cache (3 to 6 months) for high-impact events. This should include a variety of container sizes for easy access and different storage areas in case one location becomes unusable.
Always include additional water for pets and livestock, especially if they are part of your food or security system. Their water needs may vary, but they cannot be excluded from your calculations.
Some households rely on minimal-use strategies, prioritizing water for drinking and food preparation. Others take a full-use approach by including water for laundry, cleaning, and hygiene. Whichever method you choose, ensure it can be adjusted based on the severity of the situation and the availability of resupply options.
What Are the Best Water Storage Containers for Emergency Situations?
Choosing the right water storage container matters as much as deciding how much water to store. The wrong size or material can create unnecessary problems during an emergency. This section compares large barrels to smaller containers, evaluates different material types, and highlights specialized options depending on your living space, mobility needs, and available resources.

Comparing 55-Gallon Water Barrels vs. 5-Gallon Containers
Large and small containers each serve a purpose, but their trade-offs can affect how you store and access your emergency water.
|
Feature |
55-Gallon Water Barrel – Pros |
55-Gallon Water Barrel – Cons |
5-Gallon Container – Pros |
5-Gallon Container – Cons |
|
Capacity vs. Manageability |
High volume in one container, Fewer units needed |
Too heavy to move when full. Difficult to use alone |
Easy to handle, distributes weight |
Requires many containers for a full supply |
|
Weight When Full |
None – not meant to move once filled |
Over 450 lbs; needs permanent placement |
Around 42 lbs; manageable for most adults |
Must lift and pour more frequently |
|
Footprint vs. Stackability |
Compact horizontal footprint for bulk storage |
Takes up floor space; not stackable |
Stackable designs save space Flexible placement |
Requires shelving or vertical support |
Plastic Containers vs. Other Storage Options
The most commonly used water storage container is the food-grade plastic barrel. These are often made from high-density polyethylene (HDPE) and are marked as BPA-free. Look for UV-resistant plastic and containers that meet FDA-approved food safety standards. These features protect your emergency water from chemical leaching, light exposure, and material breakdown.
Polyethylene tanks, glass jugs, and stainless-steel drums are also options. Each comes with trade-offs. Glass is inert and safe for water, but it breaks easily and is heavy. Stainless steel drums last longer and are durable, but they are expensive and not always easy to find. Leak-proof seals and secure spigot attachments are essential, no matter the container type, since contamination or spills could compromise your emergency water supply.
Emergency Water Storage Containers for Different Needs
The best water storage container depends on your environment, storage location, and level of mobility. Instead of relying on a one-size-fits-all method, use a mix of solutions that cover both daily needs and unpredictable movement.
-
Portable containers (1- to 3-gallon jugs) work well for short trips, vehicle kits, or daily-use backups. These are lightweight, easy to carry, and ideal for rotating water every 6 months.
-
Stationary barrels or cisterns offer higher volume for long-term use. Place these in secure, temperature-stable areas like basements or sheds, keeping in mind the weight and space they occupy.
-
Collapsible bladder bags are well-suited for bug-out kits or vehicle storage. They hold several gallons while folding down when not in use, making them efficient in tight quarters.
-
Rainwater-harvesting barrels can supplement your emergency water supply. When paired with screening and proper treatment, this source can reduce reliance on stored tap water.
No matter the type, all emergency water storage containers should be durable, seal tightly, and be easy to refill or replace during rotation. Planning with different container types gives you the flexibility to respond quickly and manage water across various situations.
How Do I Properly Store Water for Long-Term Emergency Use?
Once your emergency water supply is gathered, the next step is to store it safely for the long haul. Improper storage can lead to contamination, waste, or reduced shelf life. This section explains how to treat your water with chlorine bleach, when to choose tap water or bottled water, and how to rotate your storage supply every six months.
Treating Water with Chlorine Bleach for Storage
Water treatment is critical if you're storing tap water or rainwater long-term. One of the most accessible and affordable options is chlorine bleach. For safe storage, use regular unscented household bleach that contains between 6% and 8.25% sodium hypochlorite.
The dosage is straightforward: add 8 drops (about ¼ teaspoon) per gallon of water. After adding bleach, stir or shake the water, then let it sit for at least 30 minutes before sealing the container. This allows the chlorine to kill most harmful bacteria or viruses. For stored water kept longer than six months, repeat the bleach dosage before drinking, especially if the water smells flat or appears cloudy.
Alternative additives include water-storage tablets and iodine crystals, which are useful in kits or off-grid situations. These options are more portable and ideal when you're preparing smaller containers or supplementing your main supply.
Storing Tap Water vs. Bottled Water

Tap water and bottled water both serve a role in emergency storage, but each has different strengths depending on your needs.
Tap water, when treated with chlorine bleach, is a practical option for long-term storage. It’s affordable, refillable, and works well for larger volumes. However, it requires regular rotation. Treated tap water should be replaced every six to twelve months to maintain safety and taste. Airtight lids, food-grade containers, and dark storage locations are necessary to prevent algae growth and contamination.
Bottled water is more convenient and has a longer shelf life. Most sealed water bottles last over two years without needing treatment or frequent checks. This makes them ideal for short-term access or evacuation situations. The downside is that bottled water takes up space, can cost more, and is not as easily refilled once opened.
Using both methods gives you more flexibility. Rely on bottled water for mobility and speed, and store tap water in larger quantities for long-term use at home.
Water Storage Rotation: Replacing Water Every 6 Months
Even sealed containers need maintenance. A water rotation schedule helps keep your supply safe and usable:
-
Replace stored water every 6 months, even if the container has not been opened. This prevents stale taste, bacterial growth, or chemical breakdown.
-
Label each container with the fill date, or use color-coded caps to track which containers need replacing next. A simple marker and calendar reminder work well.
-
Follow a first-in, first-out (FIFO) method, using older containers first and immediately refilling them with fresh, treated water.
-
Clean containers thoroughly before refilling. Use a bleach rinse (1 teaspoon per quart of water), then rinse again with clean water and allow to air dry.
Incorporating water rotation into seasonal routines, such as during spring cleaning or the start of fall, helps keep the process consistent and stress-free. A clean, rotated supply is more reliable than one left untouched for years.
Where Should I Keep My Emergency Water Supply?
Storage location affects the safety, lifespan, and usability of your water. This section covers where to keep it, how to manage container sizes, and how to reduce contamination risk.
Home Water Storage Location Considerations
Store emergency water in cool, dark spaces with steady temperatures. Ideal locations include a basement, utility room, or climate-controlled closet. Avoid placing heavy barrels on upper floors unless you’re certain the structure can support the weight. One filled 55-gallon water barrel can exceed 450 pounds. Storage spots should offer both easy access and some level of concealment. In certain scenarios, water supplies left in plain sight can attract unwanted attention.
Using Larger Containers vs. Smaller Containers
Larger storage solutions like single cisterns or 55-gallon barrels are effective for long-term use but not portable. Smaller jugs are easier to move, especially if evacuation becomes necessary. A modular setup combining barrels and smaller containers, especially on stands with spigots, can offer both capacity and accessibility. This dual strategy supports both home-based and mobile needs.
Protecting Your Water Storage from Contamination
Use raised platforms or pallets to prevent water containers from absorbing ground moisture or floodwater. Rain barrels should be fitted with screened vents to block insects and debris. Spigots must stay clean; periodic rinsing with diluted bleach keeps them sanitary. Maintenance prevents contamination and helps keep stored water usable over time.
What Alternative Water Sources Can I Use During SHTF?
When stored water runs low, you’ll need to think beyond containers. Here’s how to tap into hidden or backup water sources and treat them for safe use.
Water Heater as Emergency Water Supply
Most household water heaters contain 30 to 80 gallons of water, making them a backup source in a pinch. Water can be drained through the bottom valve, but you should be aware of sediment and corrosion. Filtering or treating this water is a smart step before consumption.
Portable Water Treatment Options
You’ll need ways to treat water on the move. Pump filters, UV sterilizers, and purification tablets are all viable options. Hand-pump and gravity filters work for larger volumes. Straw filters are good for direct use but less practical for group needs.
Finding and Treating Water from Natural Sources
During long-term disruptions, springs, streams, rain, or snowmelt may be your only options. Always pre-filter through a cloth or let water settle. Disinfect using boiling, chemical treatment, or UV methods. Each has trade-offs, but used correctly, all make natural water safer.
How Do I Maintain and Use My Stored Emergency Water?
Storing water is only one part of the process. Keeping it clean and using it wisely during emergencies ensures it stays safe and lasts as long as needed.
Long-Term Storage Maintenance Protocols
Check stored water every three months for leaks, algae, or a cloudy appearance. Re-treat containers with bleach every six to twelve months if the water is not used. When rotating or refilling, sanitize each container by rinsing with a bleach solution, followed by clean water. Allow the container to air dry completely before storing new water. These basic steps help prevent microbial growth and maintain quality.
Testing Stored Water for Safety
Test your stored water before using it. DIY kits check chlorine levels, pH, and bacterial presence. For detailed results, send a sample to a lab to check for coliform or E. coli contamination. If results show a problem, discard the water and clean the container before reuse. Testing helps you avoid health risks when using long-term emergency water.
Proper Water Rationing During Emergencies
Rationing helps stretch supplies in a crisis. Use 0.5 to 1 gallon per person per day when resources are limited. Prioritize needs in this order: drinking first, then cooking, and finally hygiene. Keep a log to track daily use and prevent running out unexpectedly. Even a basic rationing system makes a difference when resupply is uncertain.
Conclusion
As we've outlined, securing a safe water supply is a cornerstone of any emergency plan. It’s a tangible, actionable step that brings immense peace of mind. But true preparedness means looking at the entire threat landscape.
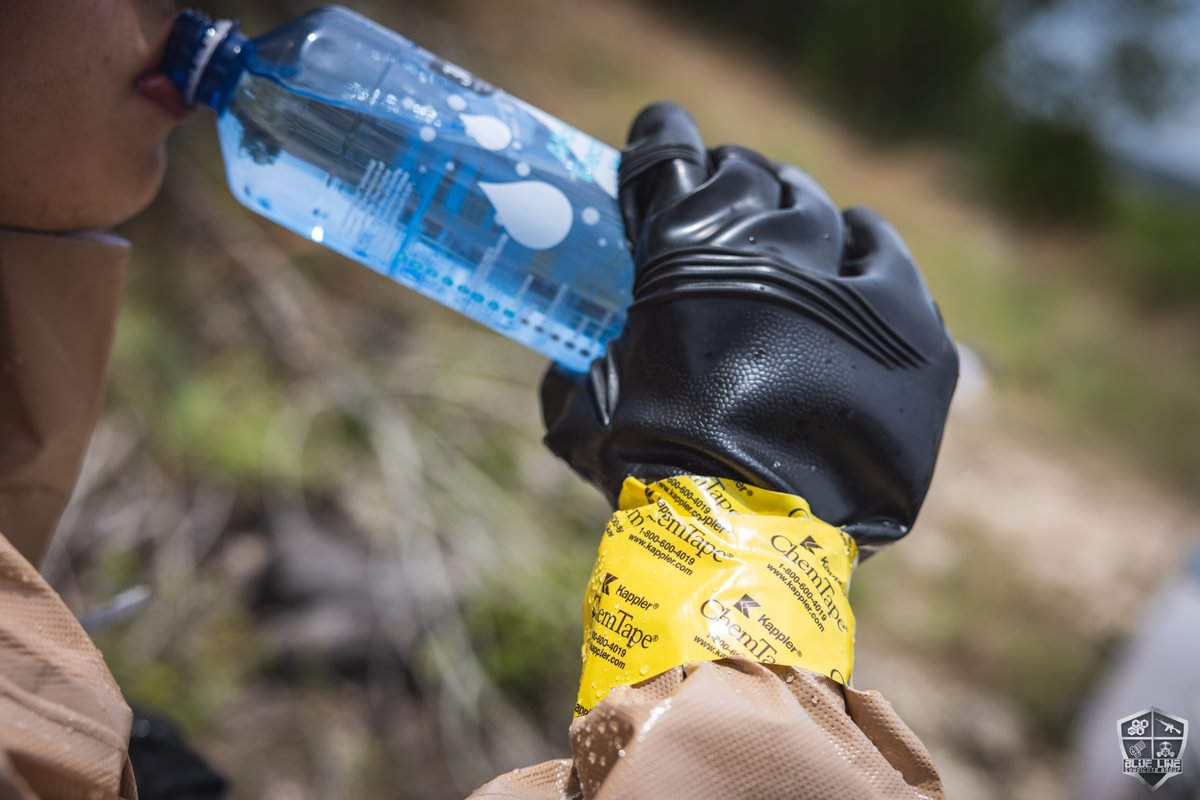
Often, the events that disrupt our water also jeopardize the very air we breathe. From wildfire smoke and volcanic ash to more severe chemical, biological, or radiological hazards, the ability to protect your respiratory system is non-negotiable.
Think of your preparedness in layers: water is a vital inner layer, but CBRN Gas masks and personal protection equipment from MIRA Safety is the essential outer layer that safeguards your entire operation. Your stored water is useless if you can't venture out to retrieve it or safely hunker down to use it. By integrating reliable gas masks and PPE into your strategy, you ensure that you can execute your water plan—and every other survival task—no matter what conditions you face.